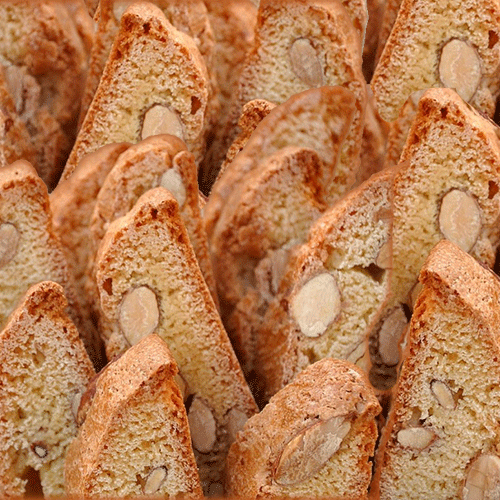
Italian sandwich cookies, known for their rich fillings nestled between tender cookies, have roots that vary across Italy’s diverse regions, each with its own take on this beloved treat. These cookies likely evolved from simple European filled pastries and biscuits, gaining popularity during the Renaissance when sweetened creams, jams, and nut pastes became widely used in desserts. In Italy, regions like Tuscany and Sicily developed unique versions, often featuring fillings such as chocolate, hazelnut, or ricotta cream. The concept of sandwiching flavors between two cookies reflects Italy’s culinary tradition of combining simple, high-quality ingredients into elegant, satisfying sweets. Today, Italian sandwich cookies are enjoyed worldwide, often cherished for their balance of textures and rich, flavorful fillings.
- 1 1/2 cup sugar
- 1 tsp Kosher salt
- 3 sticks unsalted butter
- 3 1/2 cups all-purpose flour
- 1 tsp vanilla extract
- 2 large eggs
- 1 tsp baking powder
- 3/4 cup chocolate chips
- 1 cup raspberry jam
- Rainbow sprinkles (decorating)
Preheat the oven to 375 degrees F.
Using a mixer set to medium speed, combine the butter, sugar, and salt until the mixture becomes light and fluffy, which should take approximately 5 minutes. Incorporate the vanilla and eggs into the mixture, continuing to beat them well for an additional 5 minutes. Remember to scrape down the sides of the bowl at least once to ensure even mixing. Reduce the mixer speed to low and gradually add the flour and baking powder, mixing until the ingredients are just combined.
Transfer the dough into a pastry bag or cookie press equipped with a star-shaped tip. On an ungreased cookie sheet, pipe the dough to form cookies in 2-inch lines, ensuring they are spaced at least 1 inch apart from each other.
Bake the cookies in the preheated oven until they turn a lovely golden brown, typically taking about 15 to 20 minutes. Allow the cookies to cool on the cookie sheets for 3 minutes, and then carefully transfer them to wire racks to cool completely. Once cooled, take half of the cookies and spread a slightly more than half teaspoon of jam onto each one. Proceed to top these jam-covered cookies with the remaining cookies to create delightful sandwich pairs. For the filling to set, place the assembled cookies in the freezer for an additional 5 minutes.
Combine the chocolate and oil in a microwave safe mug. Microwave in intervals of 30 seconds, pausing to stir occasionally, until the chocolate is completely melted. Take a plate and sprinkle rainbow sprinkles onto it, preparing them for the next step.
With efficiency, take each cookie and dip them halfway into the melted chocolate. Afterward, roll the chocolate-dipped portion of the cookie in the rainbow sprinkles. Once coated, carefully place the finished cookies on a tray lined with parchment paper, allowing them to set completely.
To maintain the cookies' freshness, it is recommended to store them in an airtight container. By doing so, the cookies can be preserved for approximately 1 week, ensuring they remain delicious and enjoyable throughout that time.
Like this:
Like Loading...


