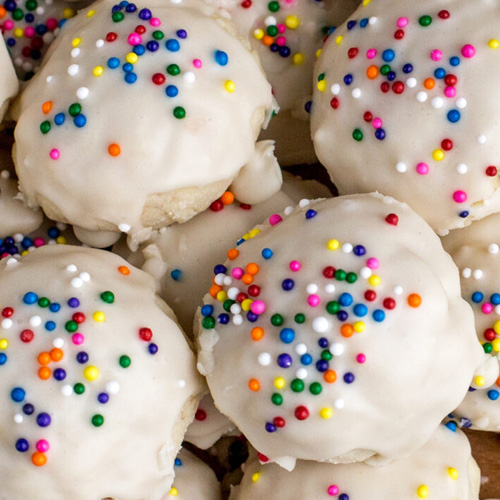
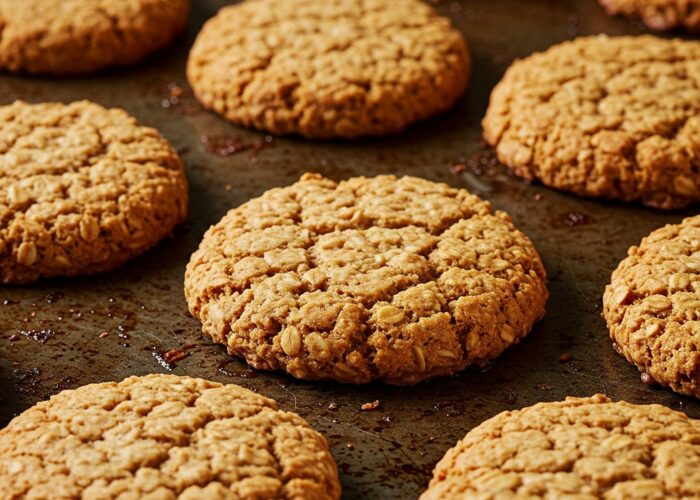
Italian butter cookies have their origins in the northern regions of Italy, particularly in areas like Veneto and Lombardy, where rich dairy products like butter have long been staples of the local cuisine. Inspired by European shortbread-style biscuits, these cookies became popular in Italy for their delicate texture, buttery flavor, and versatility. Traditionally made with simple ingredients—flour, butter, sugar, and eggs—Italian butter cookies are often piped into elegant shapes and sometimes dipped in chocolate or decorated with sprinkles or jam. While not tied to a specific historical moment, they have become a mainstay in Italian bakeries, especially during holidays and celebrations. Their refined simplicity and melt-in-your-mouth texture reflect the Italian tradition of turning everyday ingredients into something truly special.
- 1 cup unsalted butter (softened)
- 3/4 cup granulated sugar
- 2 large egg yolks
- 2 cups all purpose flour
- 1 tsp vanilla extract
- 1/4 tsp salt
- 2 tbsp whole milk
- 1/2 tsp baking powder
- dark chocolate
- rainbow sprinkles
- raspberry jam
Preheat oven to 350° F. Line a baking sheet with parchment.
In a medium mixing bowl, whisk together the flour, baking powder, and salt.
In the bowl of a stand mixer with the paddle attachment, cream together the butter and sugar for 3 minutes until light and fluffy.
Mix in the egg yolks and vanilla.
While operating the mixer at a low speed, incorporate the flour mixture gradually until it is thoroughly combined. If necessary, incorporate the milk, adding ½ tablespoon at a time, until a dough with a soft consistency, yet not overly sticky, is achieved.
Divide the dough in four portions. Place one portion in a plastic piping bag with a ½" large open star tip.
Securely fasten the parchment paper to the baking sheet to ensure it stays in position during the piping process. When creating star-shaped cookies, hold the piping bag in a vertical position and position the tip approximately ½" above the baking pan. Apply even pressure while squeezing the bag until the cookie reaches a diameter of around 1 ½". Proceed to press additional cookies, ensuring they are spaced approximately 1"-2" apart to fill the cookie sheet adequately.
If you plan to decorate the cookies solely with sprinkles, make sure to add the sprinkles prior to baking.
Bake 10-12 minutes or until the edges of the cookies are light golden brown.
Once the cookies are done baking, take them out of the oven and allow them to cool on the baking sheet for 5 minutes. Afterward, carefully transfer them to a wire rack to cool completely.
For decorating the cookies with melted chocolate, follow these steps:Line a baking sheet with wax paper and ensure its large enough to accommodate the completely cooled cookies. Place the cookies on the lined baking sheet.Take a small microwaveable bowl and add the melting chocolate discs to it. Microwave the bowl at 50% power for 1 minute. Remove the bowl from the microwave and stir the chocolate. If the chocolate is not completely melted, return it to the microwave and heat it at 50% power for 15-second intervals until it is melted and smooth.Transfer the melted chocolate into a disposable piping bag or a plastic sandwich bag. If using a plastic sandwich bag, cut a tiny piece off one of the tips or corners.Begin decorating the cookies by piping a small circle of melted chocolate at the center of one cookie. Sprinkle nonpareils or desired toppings onto the chocolate. Repeat this process for all the cookies.Place the baking sheet with the decorated cookies in the refrigerator to allow the chocolate to firm up for approximately 5 minutes.
Like this:
Like Loading...


